


openssh升级,以升级到7.9为例
环境
升级前:
Linux版本 :CentOS Linux release 7.9.2009 (Core)
OpenSSH 的相关版本:
OpenSSH_7.4p1, OpenSSL 1.0.2k-fips 26 Jan 2017
升级后:
Linux版本 :Centos 7.0.2009
OpenSSH 的相关版本:
OpenSSH_7.9p1, OpenSSL 1.0.2k-fips 26 Jan 2017
因openssh扫描存在漏洞,基于安全考虑,需要将openssh升级为openssh_7.9p1,因为升级过长所以要谨慎操作。本文讲的步骤是在Centos7.9系统、原openssh是系统安装时自带的7.4版本基础上进行升级(其他版本类似),建议生成环境要先做测试,之后再在生产环境升级。
一、升级说明
1、升级OpenSSH后,原有公钥失效,信任关系需要重新配置;
2、升级过程需要停止sshd服务,会导致ssh和sftp无法使用;
3、升级需要关闭防火墙服务;
4、升级需要关闭selinux服务;
5、升级前需要开启telnet,防止升级失败,系统无法登录,对应的防火墙需要开启23端口,安装需要telnet相关包(推荐通过系统ISO安装)
6、升级过程中需要刷新lib库:ldconfig -v;
7、升级顺序:顺序是zlib库-> openssl -> openssh;
8、升级需要gcc、make、perl、zlib、zlib-devel、pam、pam-devel依赖包;
二、安装包准备
需要准备的安装包(点击可本地下载):
三、安装并启用Telnet
1、安装telnet服务端
yum -y install xinetd telnet-server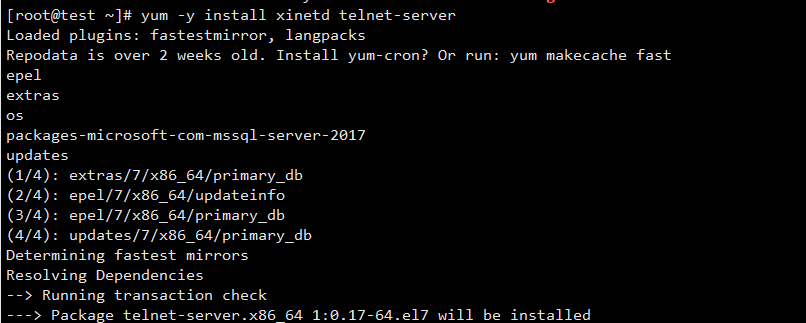
2、允许root登录远程telnet
默认情况下,系统是不允许root用户telnet远程登录的。如果要使用root用户直接登录,需设置如下内容。或者可以添加一个可以登录的用户,登录并su到root用户(建议采用此方法,保证系统安全)。此步骤可跳过!
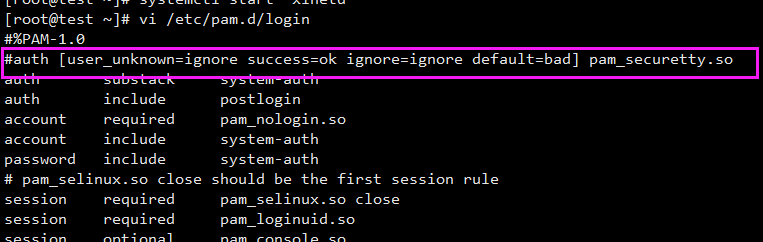
允许root用户通过telnet登陆:
编辑/etc/pam.d/login,注释掉下面这行
vi /etc/pam.d/login
#auth [user_unknown=ignore success=ok ignore=ignore default=bad] pam_securetty.so
3、添加超级用户登陆设备至/etc/securetty文件
cp /etc/securetty /etc/securetty.bak
echo "pts/0" >> /etc/securetty
echo "pts/1" >> /etc/securetty
echo "pts/2" >> /etc/securetty
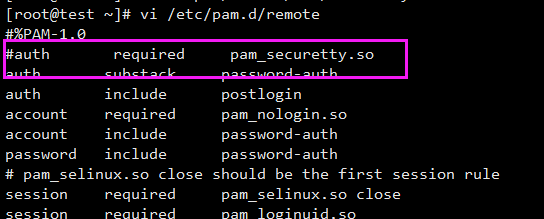
4、开启root用户远程登陆。此步骤可跳过!
编辑/etc/pam.d/remote,注释下列这行:
vi /etc/pam.d/remote
#auth required pam_securetty.so
5、重启telnet和xinetd服务【telnet服务依赖于xinetd服务】
systemctl restart telnet.socket
systemctl restart xinetd
PS:如果开启了防火墙,需要将23端口(系统默认23为telnet端口)添加到防火墙允许的端口的列表中。
四、安装升级
(1)、升级前环境准备
1、将上文下载的三个文件上传至服务器,目录可自行设定,方便即可。
2、关闭系统防火墙
systemctl stop firewalld.service3、关闭SElinux
sed -i 's/SELINUX=enforcing/SELINUX=disabled/g' /etc/selinux/config && setenforce 0 && /usr/sbin/sestatus -v 4、安装相关依赖包
yum -y install gcc make perl zlib zlib-devel pam pam-devel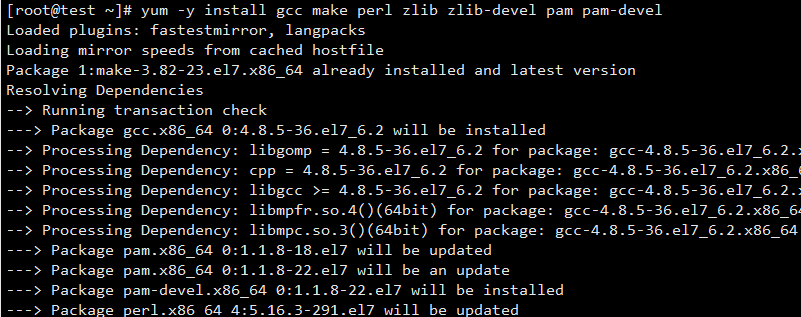
安装完毕后执行下面命令,确保所有依赖包正常安装
rpm -qa | egrep "gcc|make|perl|zlib|zlib-devel|pam|pam-devel"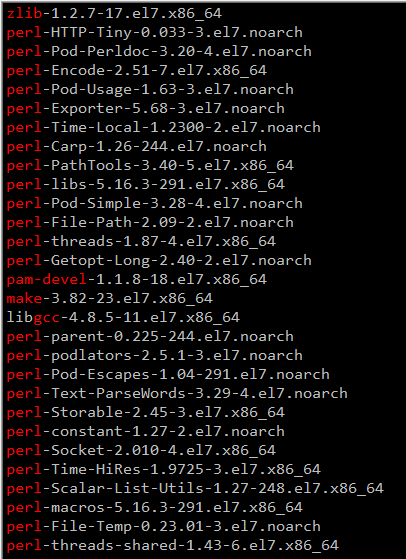
(2)、升级openSSH(注意从这步开始,通过Telnet登录到服务器,务必)
1、停止ssh服务
systemctl stop sshd备份ssh配置文件
cp -r /etc/ssh /etc/ssh.old 2、查看系统原有openssh包
rpm -qa | grep openssh
根据上面查询出的结果,卸载系统里原有Openssh(一般有三个包,全部卸载)
rpm -e --nodeps xxxxxxxxxx卸载完成后执行rpm -qa | grep openssh,确保没有回显

3、编译安装zlib
解压刚才上传到服务器的zlib-1.2.11.tar.gz,并进行编译安装
wget https://www.cmdeye.com/wp-content/uploads/shell/openssl/zlib-1.2.11.tar.gz

tar -xzvf zlib-1.2.11.tar.gz
cd zlib-1.2.11
./configure --prefix=/usr/local/zlib
如果报错类似下图所示,请安装gcc

make&&make install验证zlib安装是否成功,要包含include、lib、share三个目录。
ll /usr/local/zlib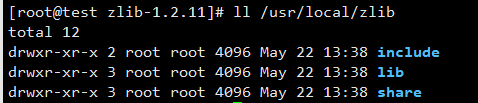
新建并编辑配置文件:
vi /etc/ld.so.conf.d/zlib.conf
加入如下内容后保存退出
/usr/local/zlib/lib
刷新库文件,加载刚才编译安装的zlib生成的库文件
ldconfig -v
4、编译安装openssl
解压安装openssl包,并进行编译安装
wget https://www.cmdeye.com/wp-content/uploads/shell/openssl/openssl-1.0.2o.tar.gz
tar -xzvf openssl-1.0.2o.tar.gz
cd openssl-1.0.2o
./config shared zlib
make      (时间比较长,切勿打断)
make test    (时间比较长,切勿打断)
make install     (时间比较长,切勿打断)
重命名现有文件目录
mv /usr/bin/openssl /usr/bin/openssl.bak
创建ssl相关软连接
ln -s /usr/local/ssl/bin/openssl /usr/bin/openssl
ln -s /usr/local/ssl/include/openssl /usr/include/openssl
编辑配置文件
vi /etc/ld.so.conf.d/ssl.conf
加入如下内容后保存退出
/usr/local/ssl/lib
刷新库文件,加载刚才编译安装的ssl生成的库文件
ldconfig -v
查看openssl版本
openssl version -a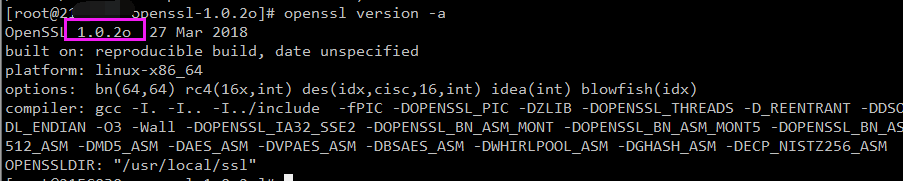
5、升级openssh,编译安装
wget https://www.cmdeye.com/wp-content/uploads/shell/openssl/openssh-7.9p1.tar.gz
tar -zxvf openssh-7.9p1.tar.gz
cd openssh-7.9p1
./configure --prefix=/usr --sysconfdir=/etc/ssh --with-md5-passwords --with-privsep-path=/var/lib/sshd
make
修改文件权限
chmod 600 /etc/ssh/ssh_host_rsa_key
chmod 600 /etc/ssh/ssh_host_ecdsa_key
chmod 600 /etc/ssh/ssh_host_ed25519_key
make install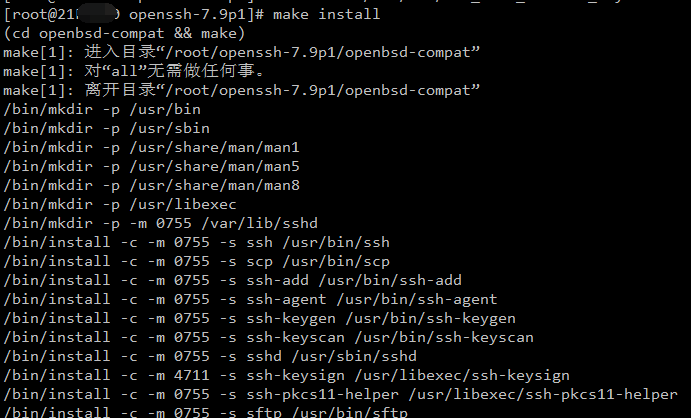
修改配置文件,允许root直接登录
echo "PasswordAuthentication yes"   >> /etc/ssh/sshd_config
echo "PermitRootLogin yes" >> /etc/ssh/sshd_config
ssh服务必须开机自启动,因此要进行一些设置
cp -p contrib/redhat/sshd.init /etc/init.d/sshd
chmod +x /etc/init.d/sshd
chkconfig --add sshd
chkconfig sshd on
systemctl restart sshd
验证ssh版本
ssh -V
ssh登录测试,可以成功登录。

openssh版本升级完成!
如果之前是rpm包安装的。并且按照以上步骤操作,可以直接以下命令进行回滚
# yum -y install openssh-clients
# yum -y install openssh-server
# yum -y install openssh
关闭telnet
systemctl stop telnet.socket &&  systemctl stop xinetd
systemctl disable telnet.socket &&  systemctl disable xinetd
Centos7 升级SSH 到7.9p1的脚本
#!/bin/bash

clear
echo ------------------------------------------
echo        CentOS7 openssh升级到7.9p1
echo         生产环境使用前请做好测试
echo ------------------------------------------
sleep 5s
clear
echo 安装进程开始
sleep 1s
clear
echo 安装进程开始  3
sleep 1s
clear
echo 安装进程开始  3  2
sleep 1s
clear
echo 安装进程开始  3  2  1
sleep 1s
clear
echo 安装并启动telnet服务端
sleep 2s
yum -y install xinetd telnet-server
cp /etc/securetty /etc/securetty.bak
echo "pts/0" >> /etc/securetty
echo "pts/1" >> /etc/securetty
systemctl restart telnet.socket &&  systemctl restart xinetd
sleep 1s
clear
echo 关闭SElinux并禁用……
sleep 2s
setenforce 0
sed -i "s/SELINUX=enforcing/SELINUX=disabled/g" /etc/selinux/config
cat /etc/selinux/config
sleep 2s
clear
echo 安装程序依赖包……
sleep 2s
yum -y install gcc make perl zlib zlib-devel pam pam-devel
sleep 1s
clear
echo 停止并卸载原有ssh
sleep 2s
systemctl stop sshd
cp -r /etc/ssh /etc/ssh.old
rpm -qa | grep openssh
sleep 1s
rpm -e `rpm -qa | grep openssh` --nodeps
rpm -qa | grep openssh
sleep 1s
clear
echo 安装zlib
sleep 2s
wget https://www.cmdeye.com/wp-content/uploads/shell/openssl/zlib-1.2.11.tar.gz
tar -zxvf zlib-1.2.11.tar.gz
cd zlib-1.2.11
./configure --prefix=/usr/local/zlib && make && make install
ls -l /usr/local/zlib
sleep 1s
clear
echo 配置zlib
echo "/usr/local/zlib/lib" >> /etc/ld.so.conf.d/zlib.conf
ldconfig -v
cd ..
sleep 1s
clear
echo 安装openssl
sleep 2s
wget https://www.cmdeye.com/wp-content/uploads/shell/openssl/openssl-1.0.2o.tar.gz
tar -zxvf openssl-1.0.2o.tar.gz
cd openssl-1.0.2o
./config shared zlib && make && make install
sleep 1s
clear
echo 配置openssl
sleep 2s
mv /usr/bin/openssl /usr/bin/openssl.bak
ln -s /usr/local/ssl/bin/openssl /usr/bin/openssl
ln -s /usr/local/ssl/include/openssl /usr/include/openssl
echo "/usr/local/ssl/lib" >> /etc/ld.so.conf.d/ssl.conf
ldconfig -v
openssl version -a
cd ..
sleep 1s
clear
echo 安装openssh
sleep 2s
wget https://www.cmdeye.com/wp-content/uploads/shell/openssl/openssh-7.9p1.tar.gz
tar -zxvf openssh-7.9p1.tar.gz
cd openssh-7.9p1
./configure --prefix=/usr --sysconfdir=/etc/ssh --with-md5-passwords --with-privsep-path=/var/lib/sshd
make
sleep 1s
chmod 600 /etc/ssh/ssh_host_rsa_key
chmod 600 /etc/ssh/ssh_host_ecdsa_key
chmod 600 /etc/ssh/ssh_host_ed25519_key
make install
sleep 1s
clear
echo 配置openssh
sleep 2s
echo "PasswordAuthentication yes"   >> /etc/ssh/sshd_config
echo "PermitRootLogin yes" >> /etc/ssh/sshd_config
cp -p contrib/redhat/sshd.init /etc/init.d/sshd
chmod +x /etc/init.d/sshd
chkconfig --add sshd
chkconfig sshd on
systemctl restart sshd
systemctl status sshd
sleep 1s
clear
echo 关闭并禁用telnet
sleep 1s
systemctl stop telnet.socket &&  systemctl stop xinetd
systemctl disable telnet.socket &&  systemctl disable xinetd
clear
echo 安装进程结束
sleep 3s
ssh -V


- 最新
- 最热
只看作者